

1975_mini
-
Posts
2,740 -
Joined
-
Last visited
Content Type
Profiles
Forums
Events
Gallery
Store
Everything posted by 1975_mini
-
 Great photos thanks for sharing
 -
-
-
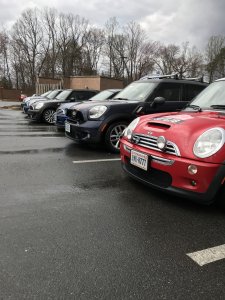
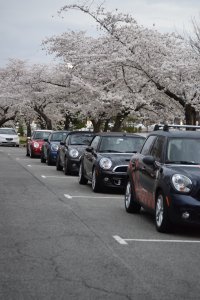
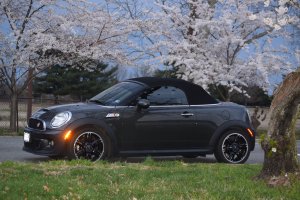
From the album: 🌸🌸 Cherry Blossom Run 2019 🌸🌸
-
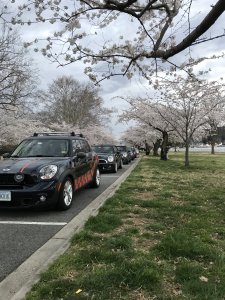
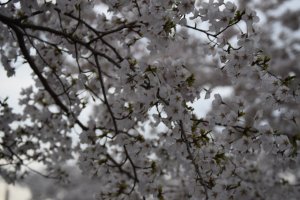
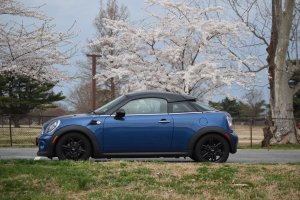
From the album: 🌸🌸 Cherry Blossom Run 2019 🌸🌸
-
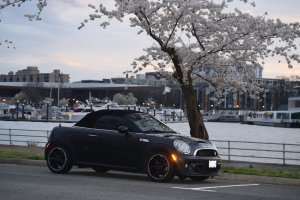
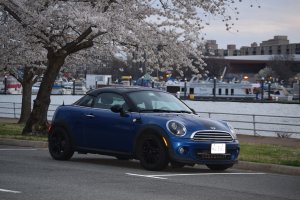
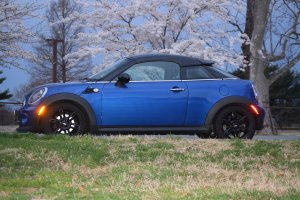
From the album: 🌸🌸 Cherry Blossom Run 2019 🌸🌸
-
The park service has moved peak bloom to the 1st, so there should be plenty of blooms for Sunday!!
-
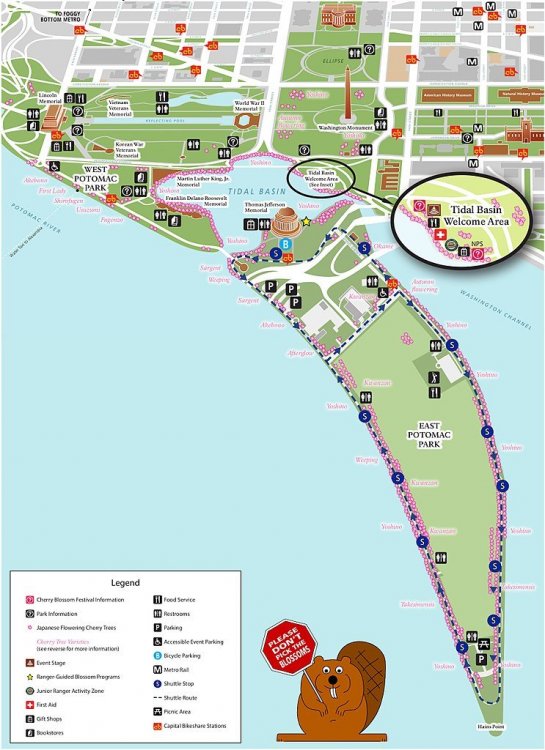
We look forward to see everyone joining us next sunday. Its an early start but should be great views, fun roads, and BRUNCH!!! Here is the route sheet for both legs and a map showing the blossom locations. I plan to get some stationary photos at the visitor center and out on Hain's point. I may also kick Brandy out with her camera to grab some shots as we do a parade lap or to around the tidal Basin that way she can catch a few monuments with your MINIs. Cherry Blossom Run.pdf
-
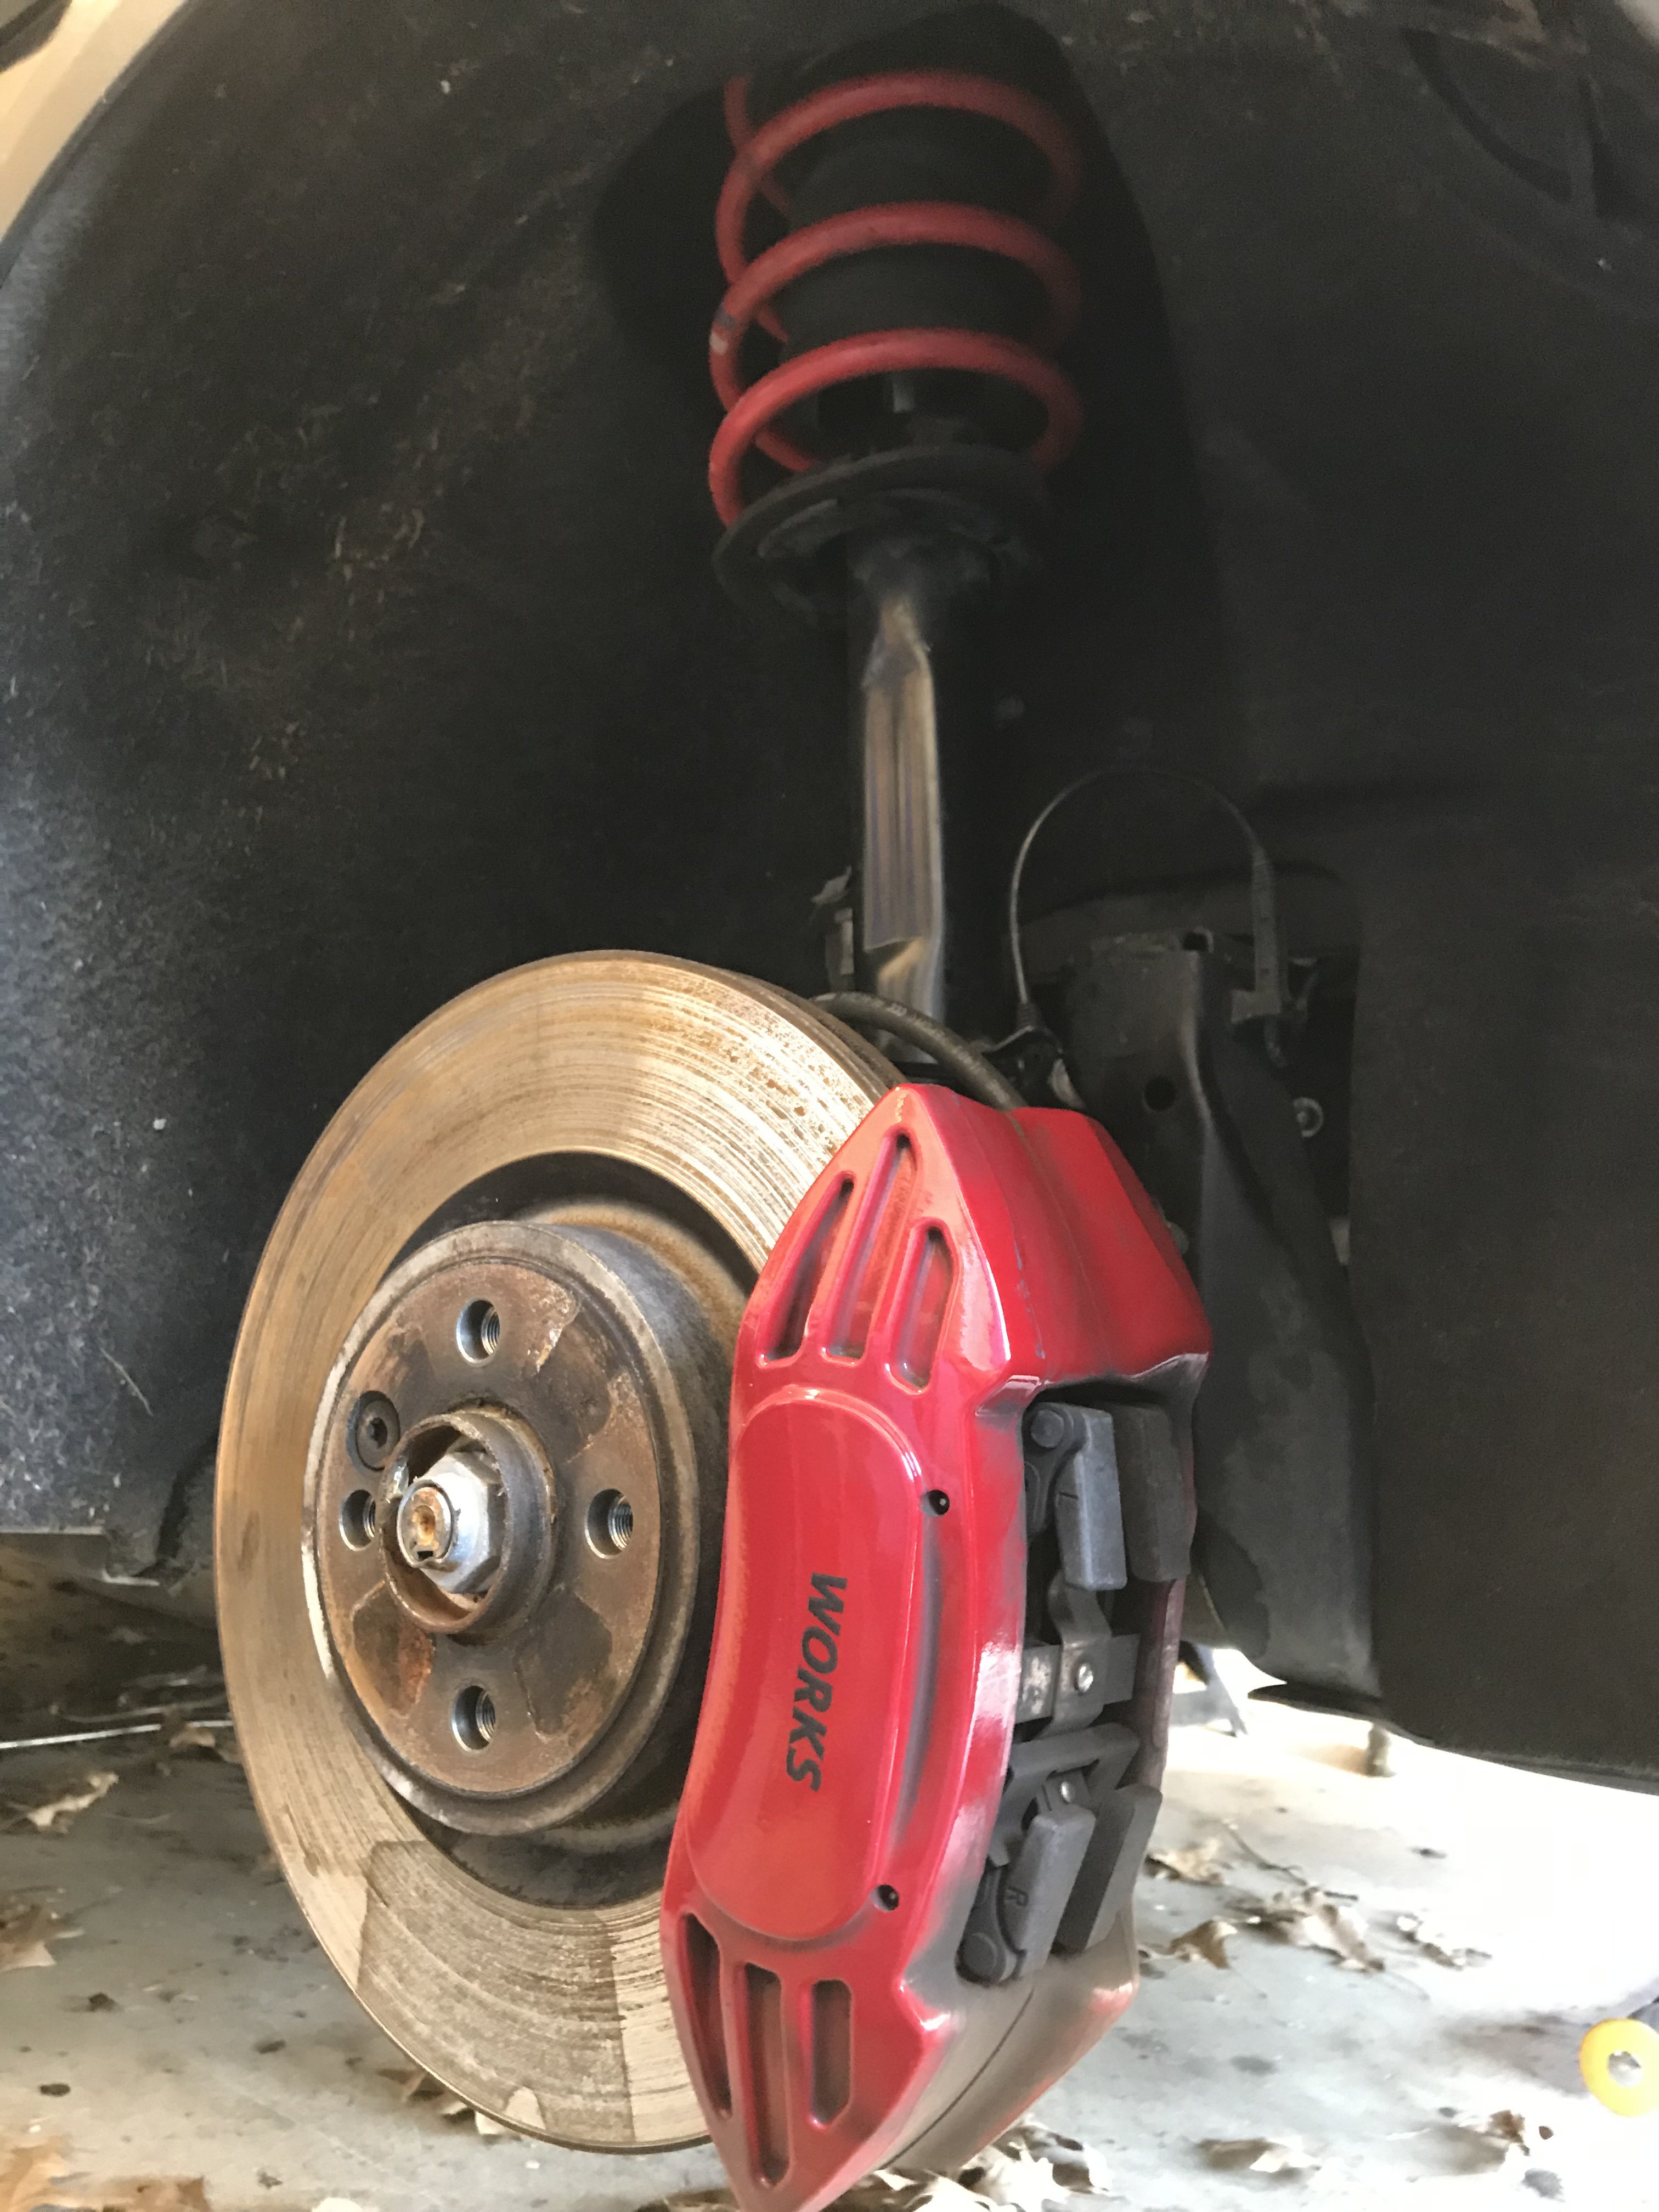
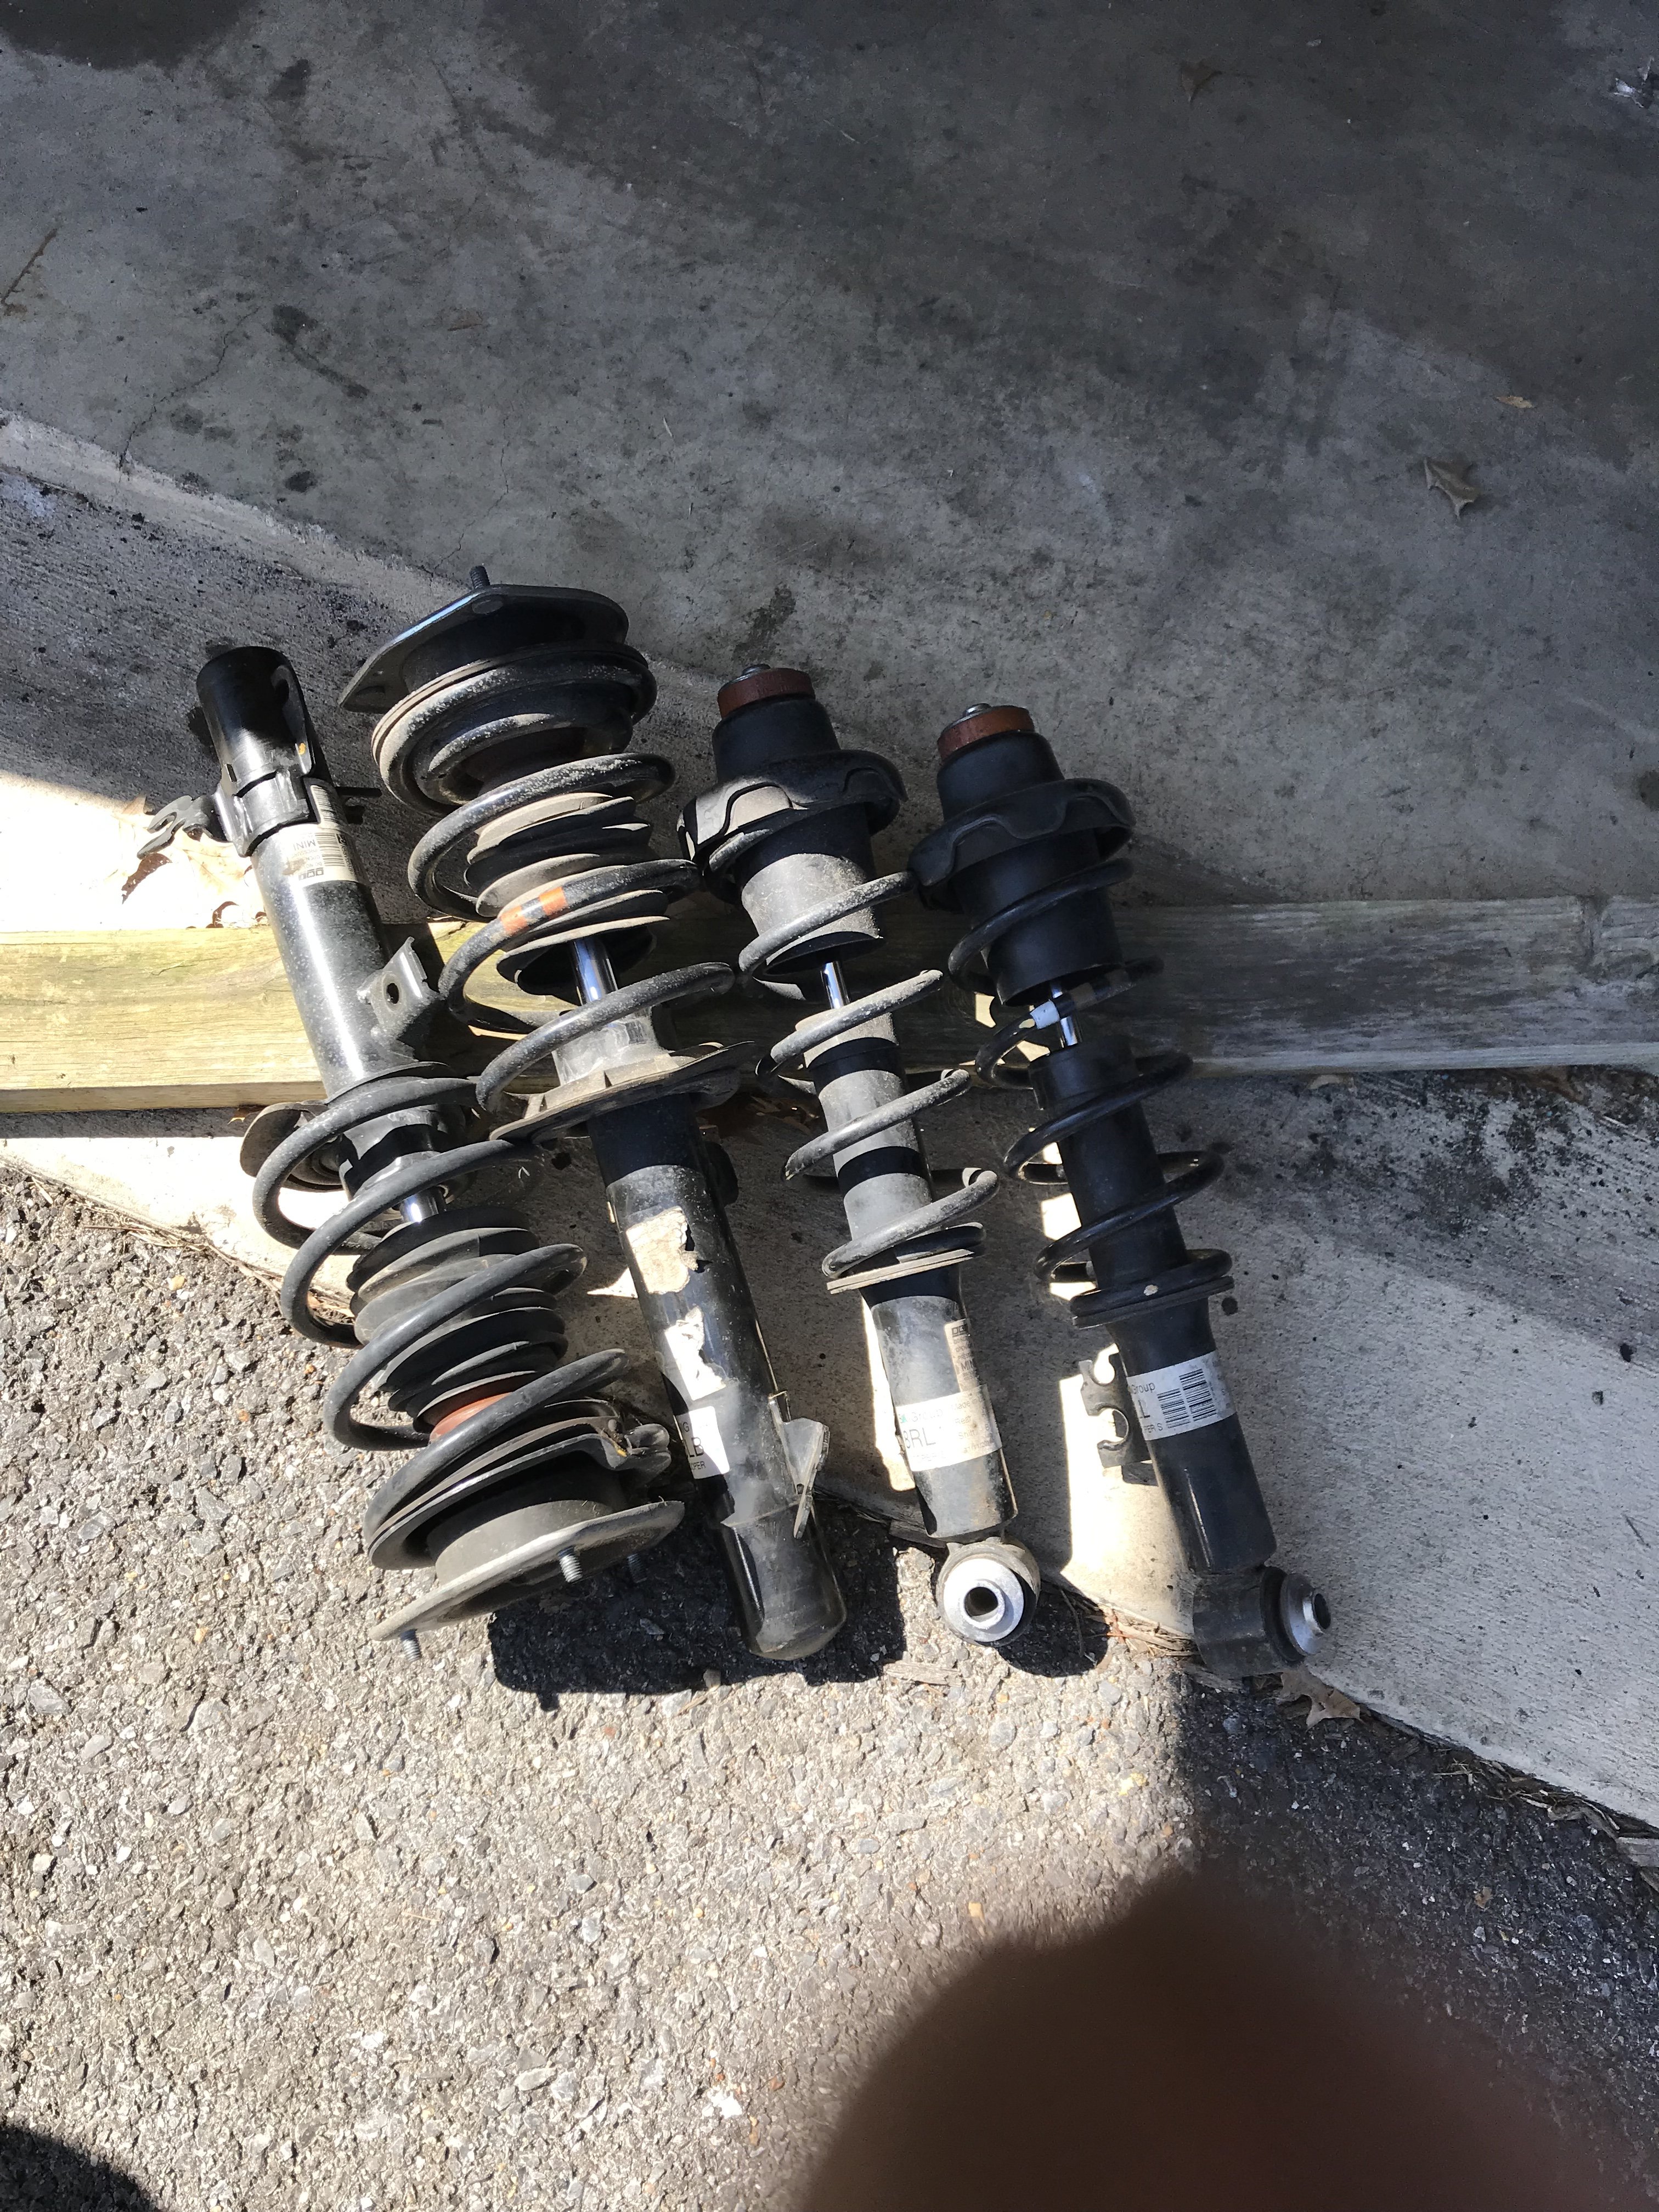
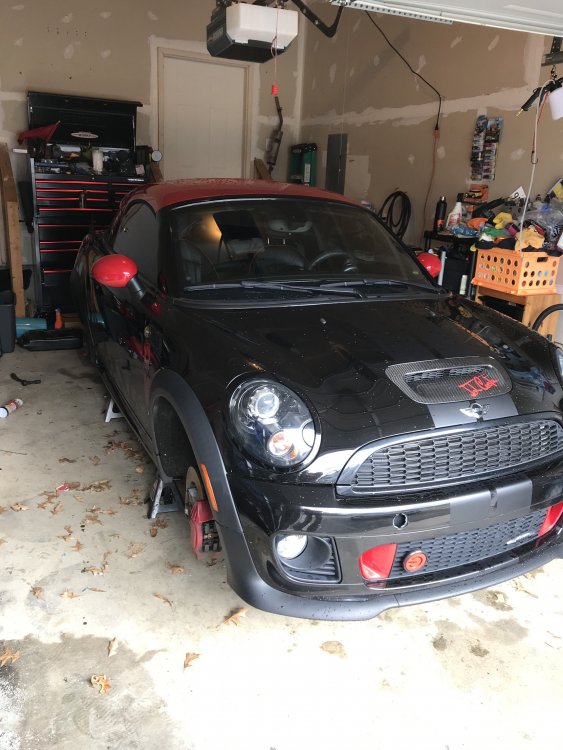
New tires on and installed the JCW struts and Springs this morning. Giving roxy a day or two the settle before I ready run the new goodies through there paces. Just an alignment and an oil change on the checklist before the dragon. Both of those I am paying to have done. Some how the garage project list is empty, going to have to change that real soon.


-
Good to know, I keep hearing both ways. Guess I am good for that mod now. You are making me what to go pick up a piece of exhaust tube and cut it out right now.
-
Aren't you worried about emissions with the decat, or are you looking to have it coded out. I will bring the red dash and we can install it one lazy afternoon at the cabin and swap the door cards.
-
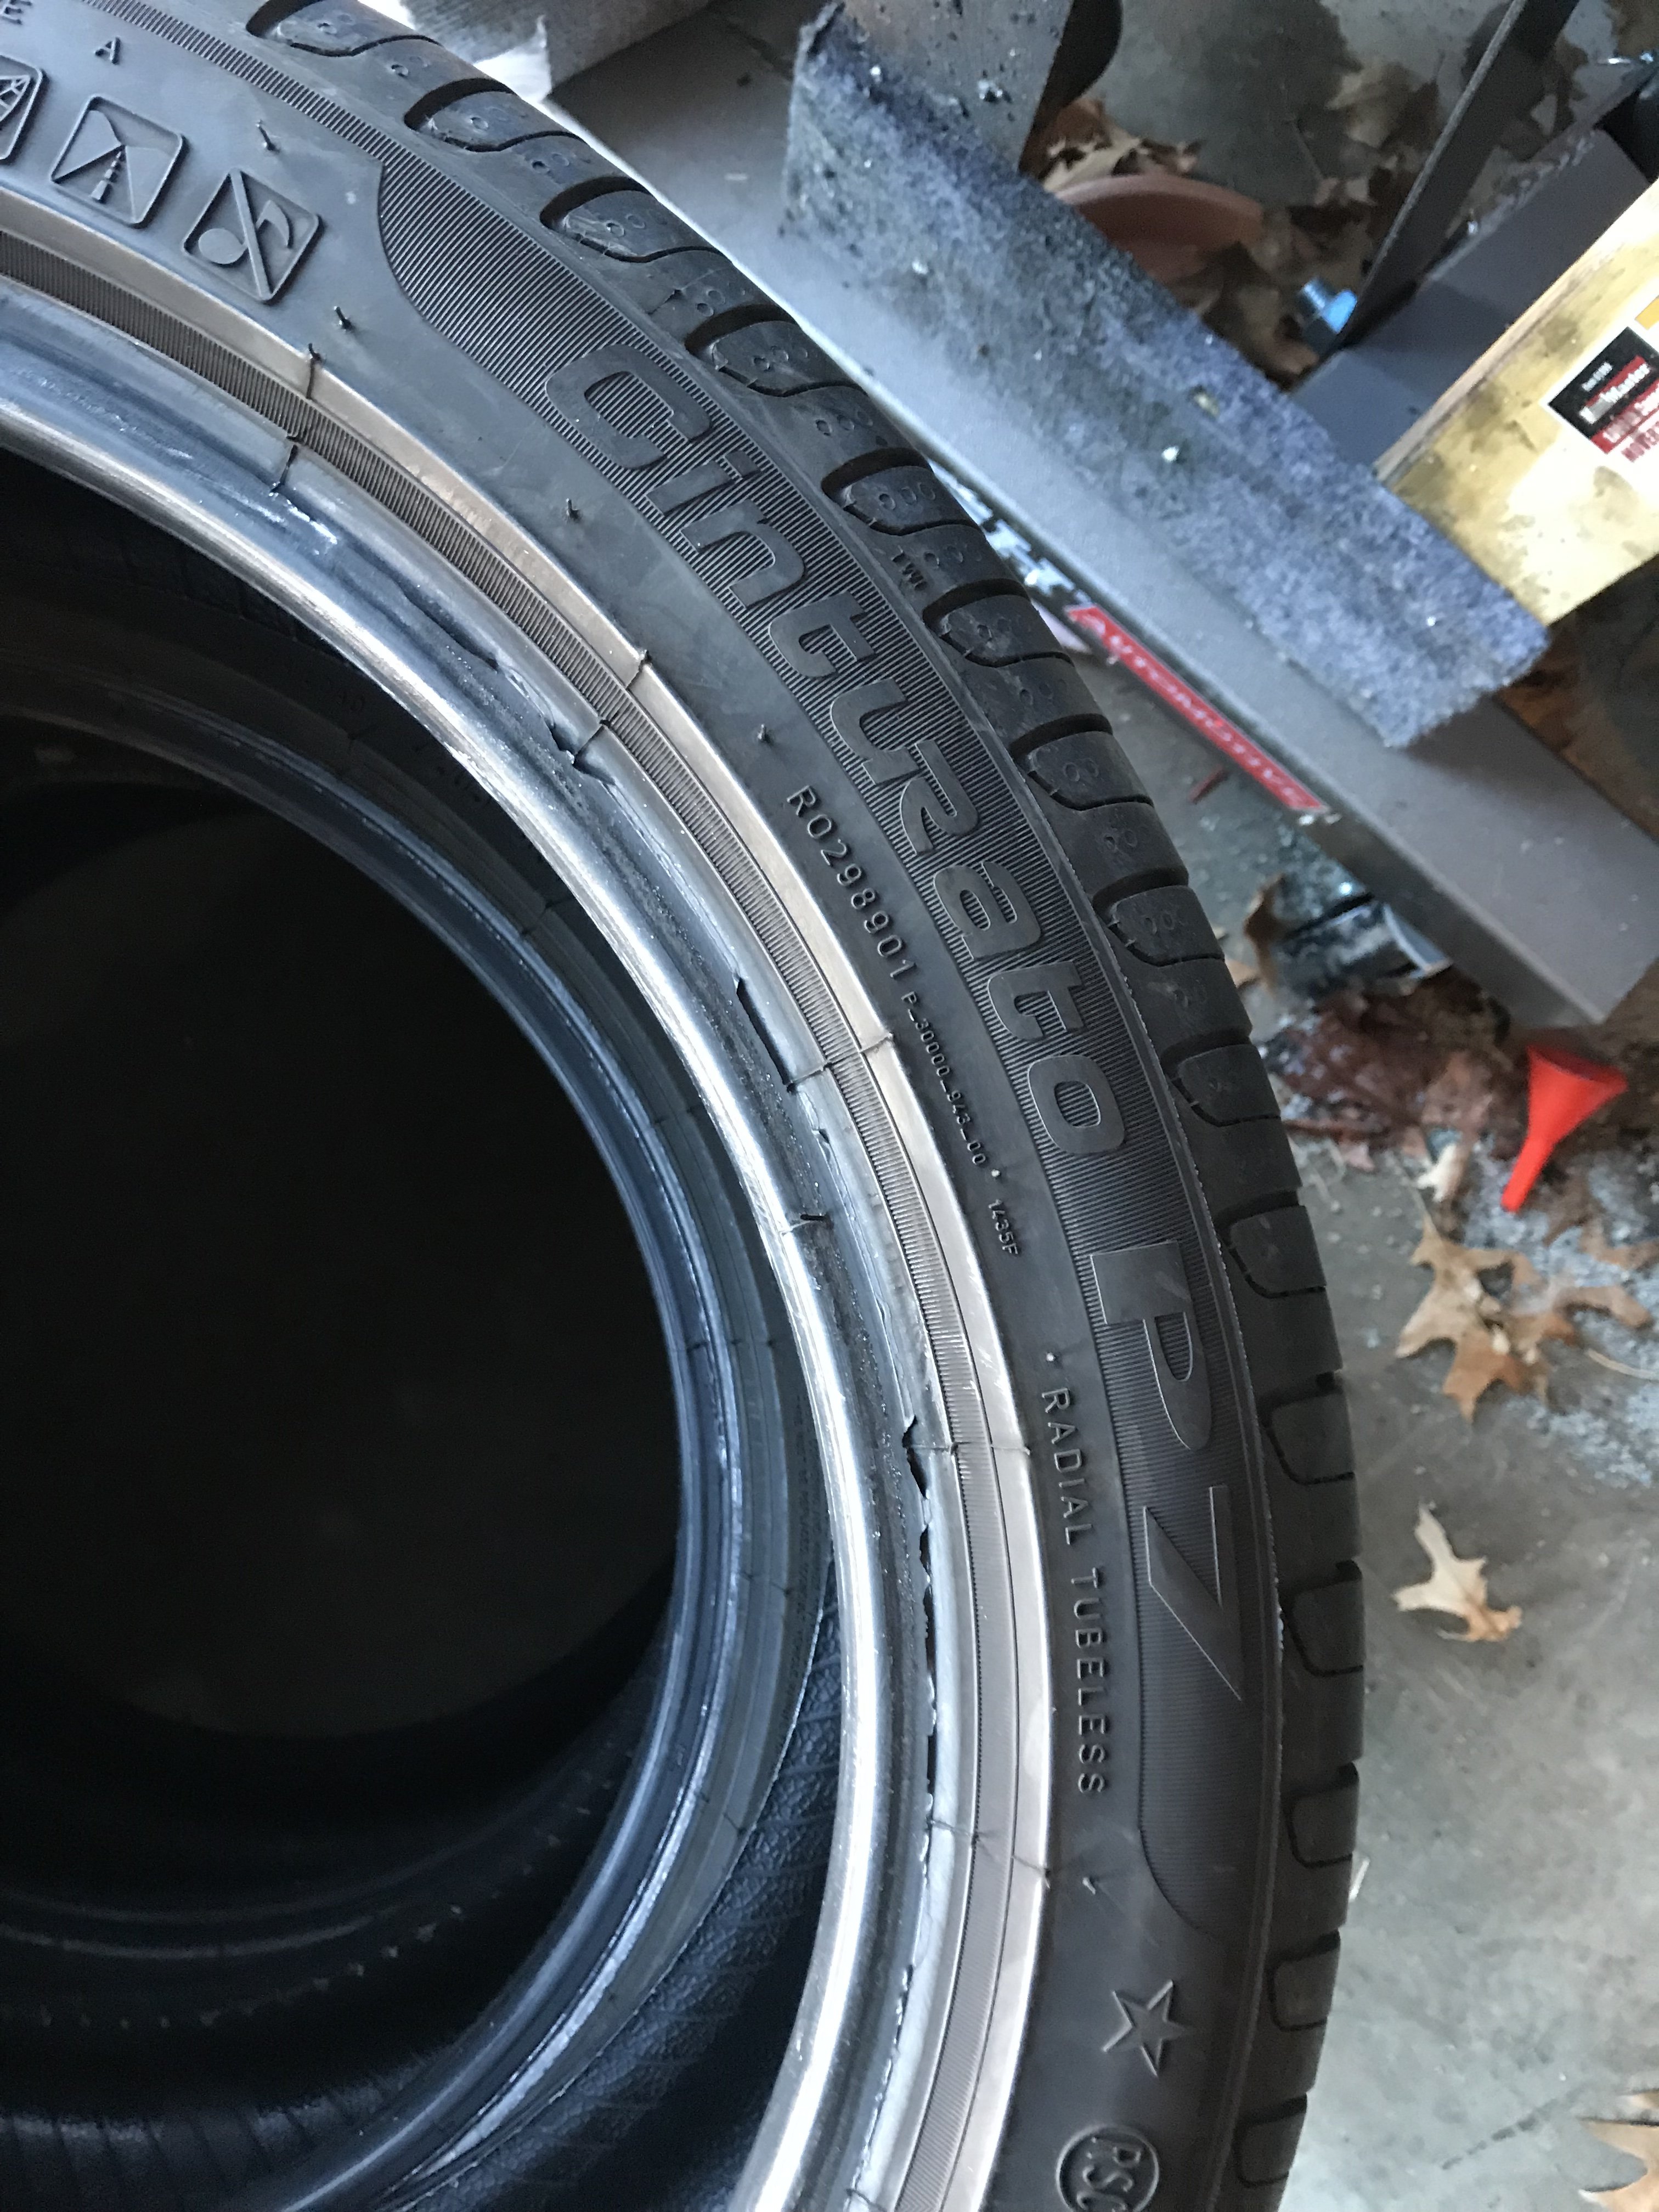
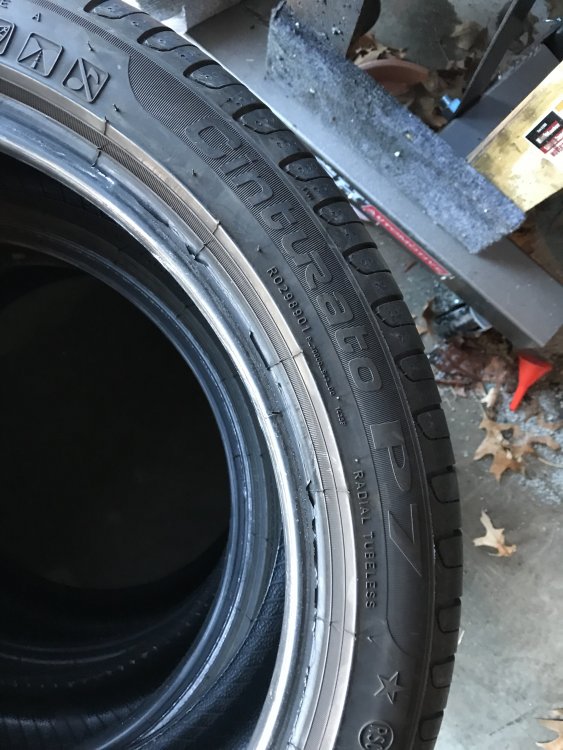
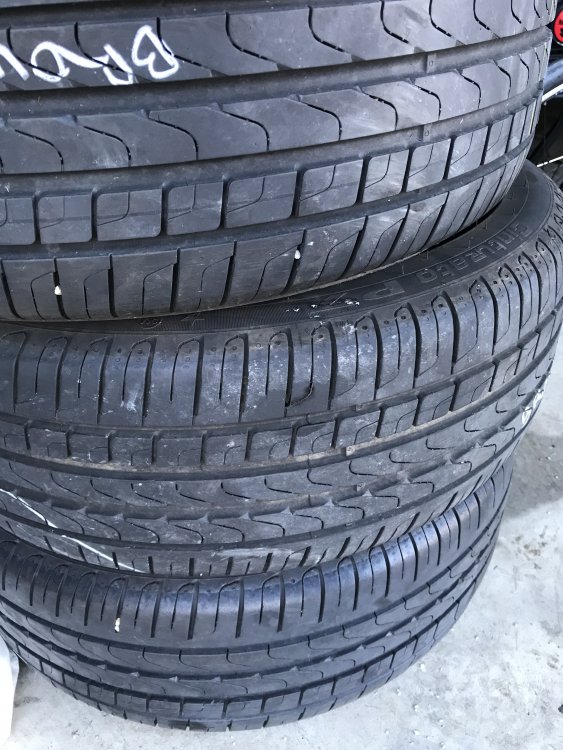
Free tires I decided to upgrade and pulled my runflats one had a sidewall failure so I only have 3 for sale. Perelli Cinturato P7 (ultra summers) 205/45r17 88w (none of the V stuff here) 50% tread life remaining, no cupping new on tire rack they are $165.50 Good grip, they do moan like a porn star when you lay into them. Plus side it make you sound like you are going faster than you are.
-
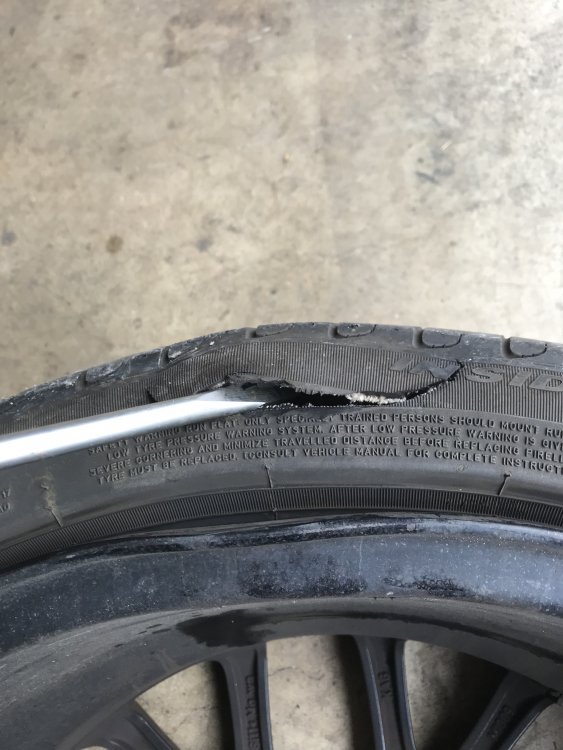
What projects/ prep is everyone got going. Roxy is getting new rubber today. Pilot sport a/s 3+ a little earlier than planned thanks to a pothole on the BW pkwy. At least it wasn’t the day before leaving for the dragon like last year. This pop a tire tradition is one I would really like to not continue next year. I guess a might as well to the new JCW coilovers while it’s on jack stands and the wheels are off. And a not so happy Watson is stuck out in the rain.

-

FS: R56 FRONT BRAKES-Calipers, Rotors and Pads
1975_mini replied to MELO-R56's topic in MINI Related
This is something for the Gen 1 folks out there, The Gen2 S brakes are the Gen1 JCW brakes minus the fancy red paint. -
Pulled these off @Brandy_Brown Countryman S All4, the have lots of life left in them just upgrade hers so these have been sitting. Fully set front and rear Sorry they will only work on Gen2 countryman or paceman due to the 5x120 bolt pattern. Free to anyone that would like them, I will be in VA Sunday for easy delivery.

-
Brighter headlights for 2013 Roadster
1975_mini replied to Star's topic in Maintenance & Modifications
do them yourself, if you are going the LED route it is literally "plug and play". It is the same as switching out a burned out bulb. I will add a link to a step by step this evening. -
I will try to sneak over, It depends on how have end up down the Watson hole this weekend
-
Brighter headlights for 2013 Roadster
1975_mini replied to Star's topic in Maintenance & Modifications
LEDs are a good price/result option if you do not want the Xenon bite to your wallet. The one issue you can gt with LEDs is you can get a failed bulb warning light. This is because MINI used resistance to determine if the light bulb has failed, LEDs have less resistance and the car thinks the bulb has burned out. The LED will work fine, you just get a warning light. They also sell in-resistors to correct the issue, or higher end LEDs have them built in. Just something to look for when shopping around. -
I will order today
-
Just be "That Guy", and tag on to any run you want
-
I think I am leaving early tuesday morning, and cannon ball through. 4am would put me in Fontana around 2pm
-
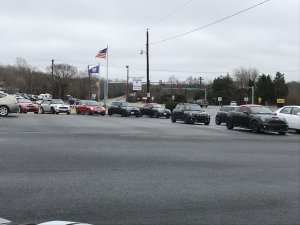
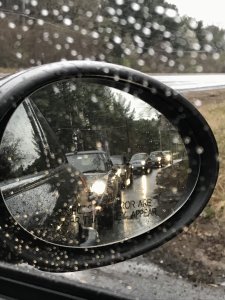
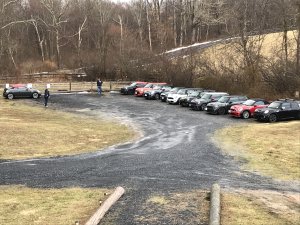
Photos from the Mistress Run on Feb 24, 2019
-
-
From the album: Mistress Run 2019
-
Thank you everyone for coming out and making the event so successful. Please feel free to share any feedback you may have to make the run better for next year, you can post them here or message them to me directly. 1) less left turns Also I have put up the photo album for the event, please share an photos you may have taken. Especially if your co-pilots may have grab any during the run. @Brandy_Brown @NYRican MC40 @CHILLIN @SneakyBaron @TGGRRR (Ali) @ToMo @Tiger's_Mom @IndiCooper @Obsessive @SierraRoses @wyretrip @desertrat
-
From the album: Mistress Run 2019