

Scavenger
-
Posts
1,385 -
Joined
-
Last visited
Content Type
Profiles
Forums
Events
Gallery
Store
Posts posted by Scavenger
-
-
So, I have a 10 year old R53... what does that mean? Today I got my car back after getting the following done:
1. ALL fluids/filters replaced
2. New lower control arm bushings (Powerflex)
3. Supercharger service
4. New belt and belt tensioner
5. New waterpump
6. Rebuilt Axle
7. New sunroof seal
8. A few other small fixes that should prevent boost leaks
Also, last year, I had my suspension sorted since I now have Coil-overs. Primary goal was to achieve nice stance, but maintain tire wear and proper driving feel. :motor: (unlike the dopes with the crooked tires) :laugh:
.... I'm rambling again...
-
No, it's not a kit, I bought everything separately, basically following the list in the tutorial. After sanding, I sprayed it with Clear paint.Looks great. Did the kit come with a UV sealant to use after wet sanding. -
BA is bright eyed and cheery. I need to do this for Tigger
You should... or Mark should

 :laugh: Once the clearcoat has had plenty of time to set and I make any final touch ups, I'll post a full picture that'll better show the results.Very Nice, it is a very simple process I recommend that anyone to do it. Wet sand till the water runs clear, and you have removed the oxidation and any light scratches.
Any light abrasive will work (i.e. toothpaste if you want to be really cheap)
Looks great!!!:top:
Yep, I tried toothpaste first, but the amount of elbow grease you'll need and the final result really just isn't worth the time. I wanted a result that would last a while, I hope several years! This seems to be it, but time will tell.
Thanks for the compliments! :top: Now it is time for some :motor:
-
UPDATE::::
This evening, I got around to finishing my project by completing the passenger side. Here is a pic. I think it looks great!
I'm very happy with the results and affordability of this process, and I recommend it to those not wanting to spend over thousand for new parts.

-
Just my 2 pesos...
Not meant to conflict with any previous responses.
1. Don't overcommit to runs (drives)
2. Don't commit to large mod project on vendor row
3. Spend plenty of time on vendor row learning about mods, maintenance and shopping

4. Fontana Village is where it's at... I'll sleep on a couch there before I EVER sleep in a luxury suite somewhere else :laugh: (some folks camp!)
I'm sure there's more....
DAMN, I'm excited! (I've missed 2 or 3 years now)
-
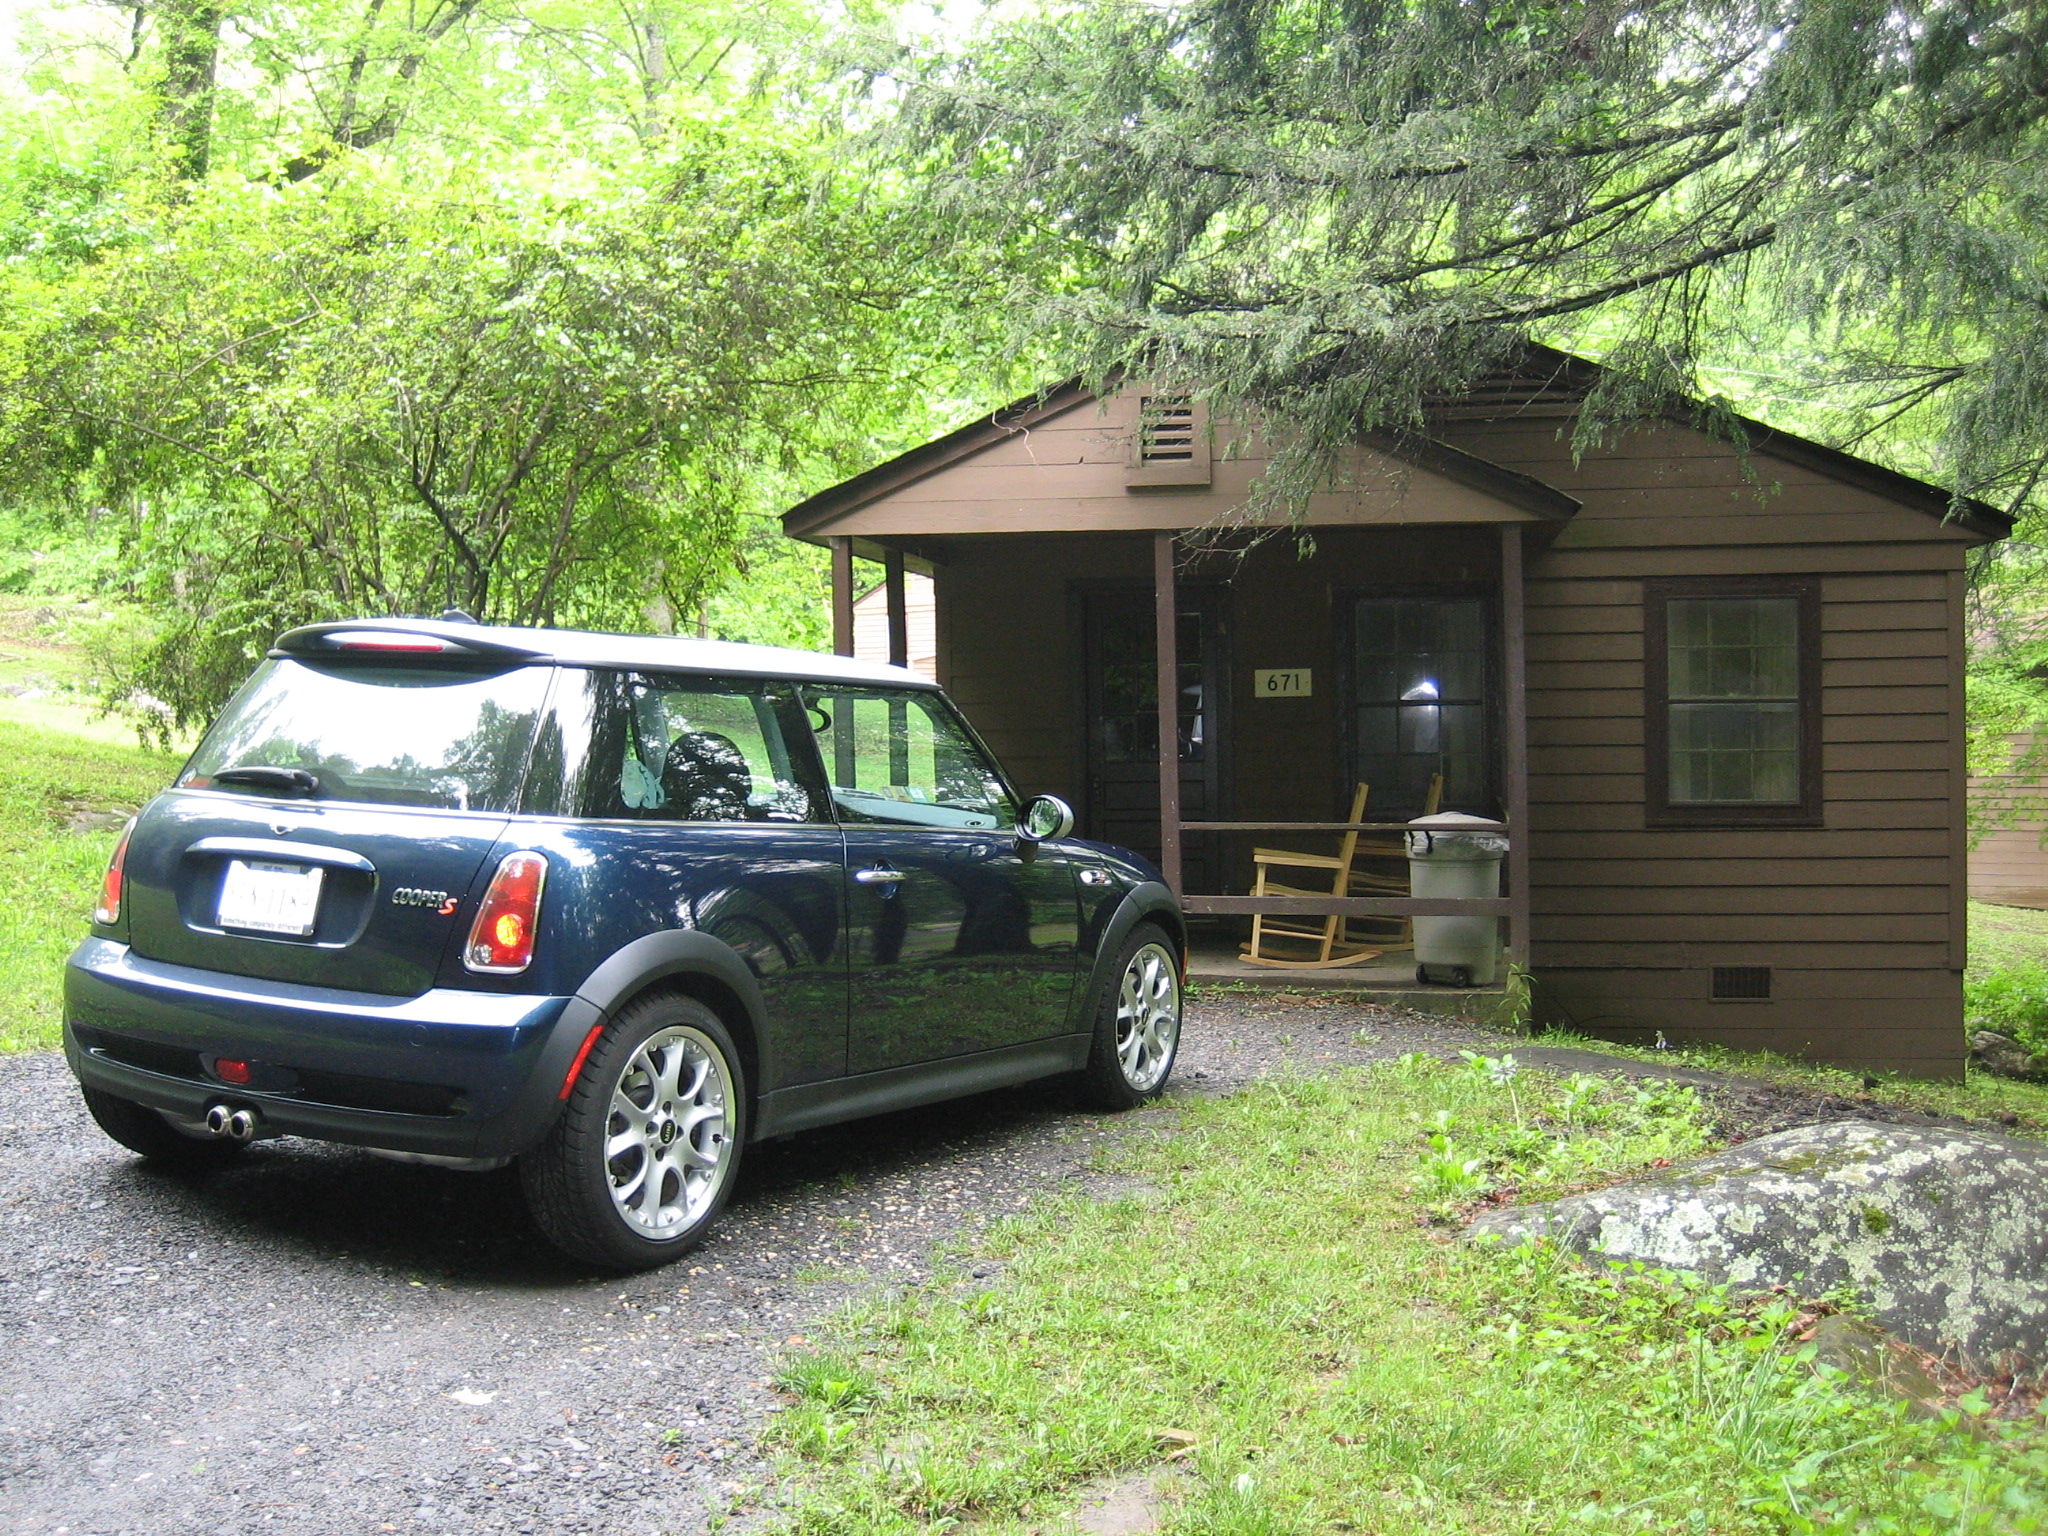
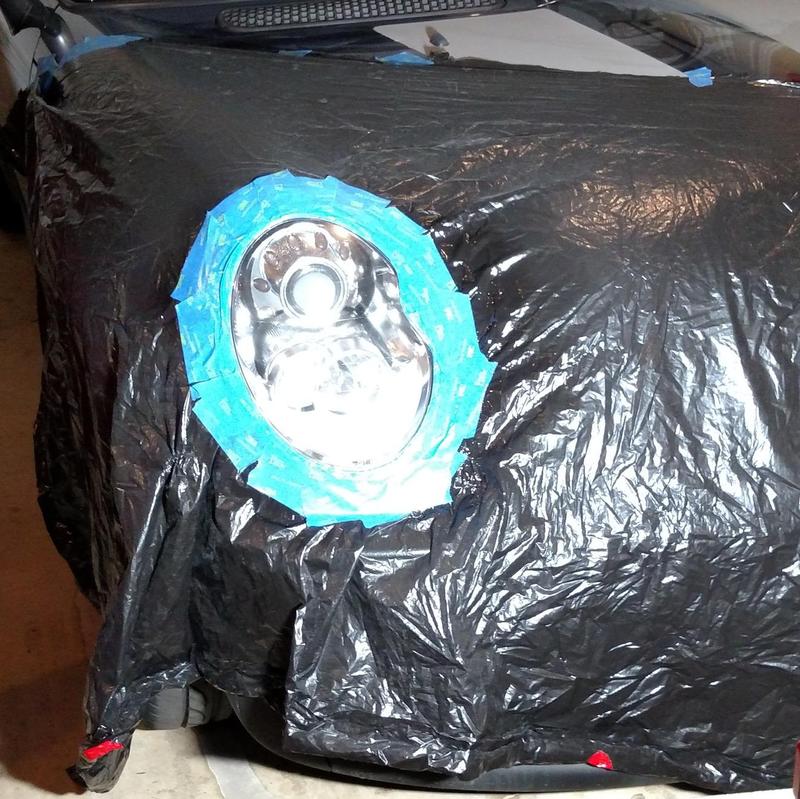
My R53 spent most of its daytime life in parking garages shielded from the sun until I moved to NC. Parking Garages aren't so common here. Anyone with a first gen (or even second gen) that has kept there car outside knows the damage the sun can do. In particular, the headlights. Mine had become really yellowed and fogged. I considered replacement and even though I can do the labor myself, which involves swapping the bulbs, washer mechanism and wiring, total cost is still something like $1300.00

Pelican Parts: (Cheapest)
Drivers - 63-12-7-198-739-BOE - $652.25
Passengers - 63-12-7-198-740-BOE - $652.25
So, I found a tutorial on how to restore them myself. I think it is a better job than the store-bought resto-kits that can be found in the auto shops. Slightly more expensive, but still far less than $1300!!!
Anyhow... so far, I've done my driver's side headlight, so I wanted to post results for all to see. The tutorial I used is found on Youtube -
It took me about 2 hours and I think the results are quite impressive!
Here's a picture:

-
Just to add... I have two sets of H&R spacers that I can sell. One 5mm and one 10mm. These are high quality and still in good shape. Just keep in mind if you or your buyer needs them. I can bring them to MOTD too. Let me know

-
Guess I'll add my name in here for a couch, cot, or bathtub

I plan on being there Wed-Fri evening ( I have to be back in Baltimore for Wife's graduation commencement on Saturday).
BATHTUB!!!?? :bath: Now THAT is desperation :laugh::laugh:
can we go now!? :vroom:
I wish! :top:
-
Scavenger - They look great! :top: I'd love to do that with my '06 S. How difficult is it to install the gauges and the mounts?
Thanks
Thanks!
First of all, there might actually be some electronic ways of getting this information using the various OBDII plugs and apps available these days. But, my install is pure old fashioned hoses and wires.
Secondly, I have the JCW gauge set that was available for first-gens, one for Boost, the other for Volts. So, all hardware was included. If I can locate the info, I'll add the part number and instructions. However, it might be very difficult to locate this kit if at all since MINI probably hasn't produced it for many years. One note though, this kit will only partially work if you have the Chrono Pack.
So, let's assume that you can't find this kit. In this case, you'll need to purchase everything separately:
a. Gauges - Boost and Voltage.
b. Wiring and Hoses and special connectors.
c. Mounting brackets, pods (even if you found the kit, but have the Chrono Pack, you'll need to buy this stuff.)
the best thing would be to go with the Craven brackets and pods. Then, the first question I would ask is, "Do you have the Chrono Pack?". If so, then you have both Speedo and Tach on your steering column. This will help determine the best mounting locations. I have this pack as you can tell, so it's spreads things out a bit more. You could also buy some pods that bolted directly to the dash, but I wanted to avoid "adding" any new holes.
So, now for the real work -
The most complicated step is for the Boost gauge. You need to use a special T-connector to tap into a vacuum line, which required removing the intercooler to get to a vacuum line on the engine, and then routing the tube through the firewall.
The second is to find electrical connections for the gauge lighting and the voltage gauge. This was actually easy for me since the kit included the harness I needed so it was just a plug n play job. But, without the kit, you'll need to find a 12V switched source for the gauge. I hesitate to say use it also for the lighting, because I'm not sure whether the lights in the gauges are also 12V and to what circuit they are connected. I believe they go on and off with the rest of the dash lights. I don't have this information since this bit was easy with the kit.
For the mounting. Since I have the Chrono pack with both Speedo and Tach on the steering column, this is the reason for using the hardware from Craven. Again, I already had the brackets bolted up to hold my phone on one side and a Scanguage II on the other. Craven mounts are very modular, so all I did was remove the mounts for the phone and scangauge, and replace them with 52mm gauge pods.
I'd estimate that after you have all the parts and stuff, it will be at least a one-day or possible weekend job to get installed and working. There are a lot of helpful DIY videos on Youtube, Pelican Parts, and MINI2 forums but if you're not comfortable with this type of work, definitely let one of the local shops do the work.
I hope you figure it out and made it through my rambling reply... I'd love to see an update on your decision!!
-
I am excited! Because, yes, I admit, I've been quite "checked out" for a while. But, B.A. is still being cared for and I'm in the process of getting him road worthy and spruced up! It will be great to hang out with everyone again! :motor:
-
Same here, I wanna go, just need a place - so anyone?! . I'm thinking Thu, Fri, Sat nights.
*Surprise*

-
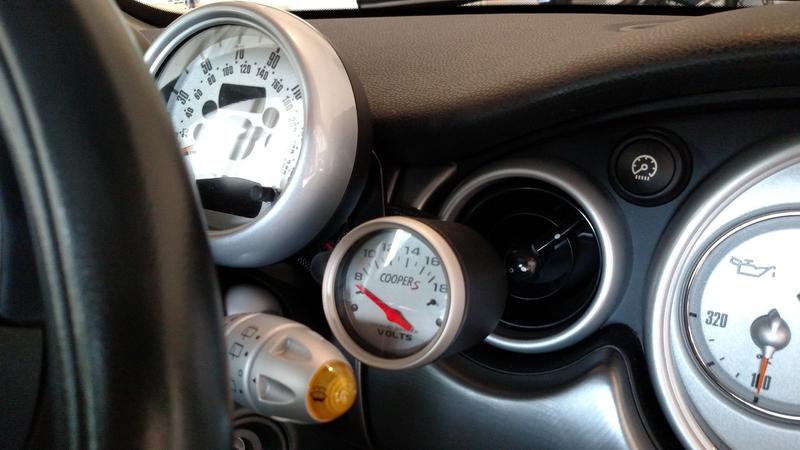
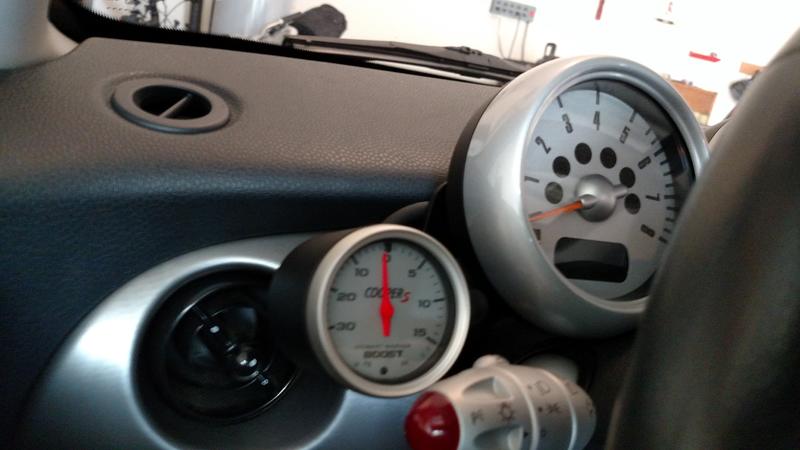
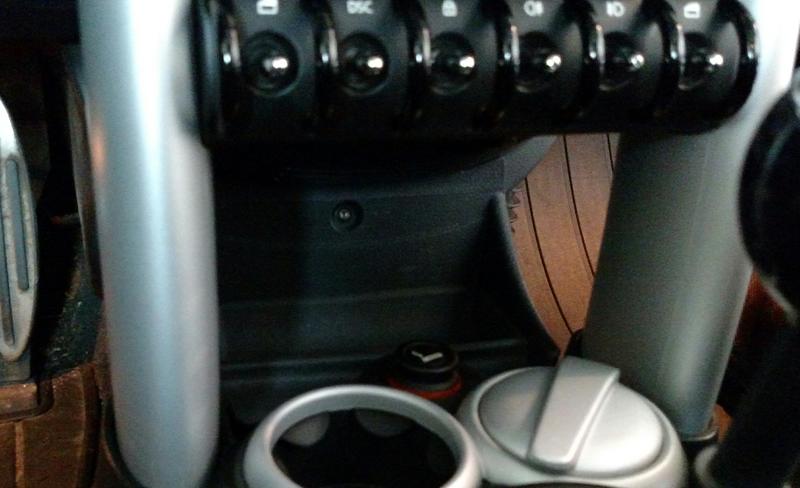
Well, I've had the Cooper S gauges installed under my toggles for a long time now, and my big complaints were always 1. Too hard to see when driving, 2. Lost storage space
This weekend, I combined the gauges with some Craven mounts and relocated them to the steering column to solve both complaints! Here's some pictures. I think it looks great!
-
I got mine from Outmotoring. Probably a lot less than dealer, I don't remember the last time I had that wiper changed, so probably good I got it.I do laugh at dealer prices, often the same OEM parts are 50% cheaper through rockauto or other online source.Point on the bear where they touched you.:rofl:
Ah, otherwise known as the "Livestrong" mod.... :rofl:I "one-balled" my mini yesterday! Mainly, due to a hole in the resonator... but yeah! It sounds pretty decent, no highway miles though so I'm not sure on the "drone" effect yet. -
I'm suspecting that it is designed for an R56 (Second Gen), and since you drive an R53 (First Gen). So, no, that won't fit. I'm sure someone with an R56 would be interesting in it though.
-
Technically, nothing other than driving it to and from work,
:motor: , but I did receive a package with a new rear wiper and cabin filter, so I plan to install those along with a new ITG air filter sometime this week. -
Stop looking, he bought an 07....
Just saw this thread , and wow, that was quick. But, an '07 is an R56, not R53, so they are very different. Either way, glad for them!
-
I replaced the struts on the boot lid today, now it stays open again!
-
That donor appears to have quite a few useful parts... like that windshield, hang on to that one for sure!
-
Looks Nice!!
-
I want to hear the R53
-
really? Pics... sound clips please! :-)
-
It has to look stock
If this is the case, then you'll need to change the whole intake box, not just the filter. I don't understand why this would suddenly be a problem, years ago there was a lot of debate/discussion about the Moss/magnusen ? act. I think here on these forums, will need to search though.
-
Have fun everybody! I won't be able to join you this year
I look forward to all the stories and pictures coming during and after, and especially since I won't be there. I'm already REALLY hoping that next year we'll be able to go. But, until then, I hope everyone has fun, stays right-side up and gets lots of mods and/or stickers and does a lot of motoring!!! :motor: :rock: :top:
-
I think I've gotten one
Insights and Must DOs for First time on Dragon [MOTD14]
in MOTD 14 (2016)
Posted
I'm so excited.... My MINI has been fixed up thanks to G3 Automotive here in NC. (G3 will be a vendor this year also). I got a box on the porch today with some more stuff in it
I was just thinking about all the different MINIs that will be there this year, including new Clubman. I remember my first MOTD when first gens were the only thing that existed. Then, later the R56 came out and we were tryng to decide if we liked it or not..... them came Clubman, Paceman, F56..... OMG